A photo frame is a decorative structure that holds and displays photographs or artwork. It typically consists of a border made from various materials like wood, metal, plastic, or glass, and can come in different sizes and styles to complement home decor.
Frames often include a backing that supports the picture and may have a stand or hooks for wall mounting. They can enhance the visual appeal of the photo while protecting it from dust and damage.
Here are some fun DIY ideas to create your own photo frames:
1. Wooden Pallet Frame
- Materials: Old wooden pallets, saw, sandpaper, wood glue.
- Instructions: Cut the pallets into desired sizes, sand them for a smooth finish, and glue the pieces together to form a frame.
2. Mason Jar Frame
- Materials: Mason jar lids, twine, decorative paper.
- Instructions: Use the lid as a frame, attach twine for hanging, and insert a small photo or artwork behind the lid.
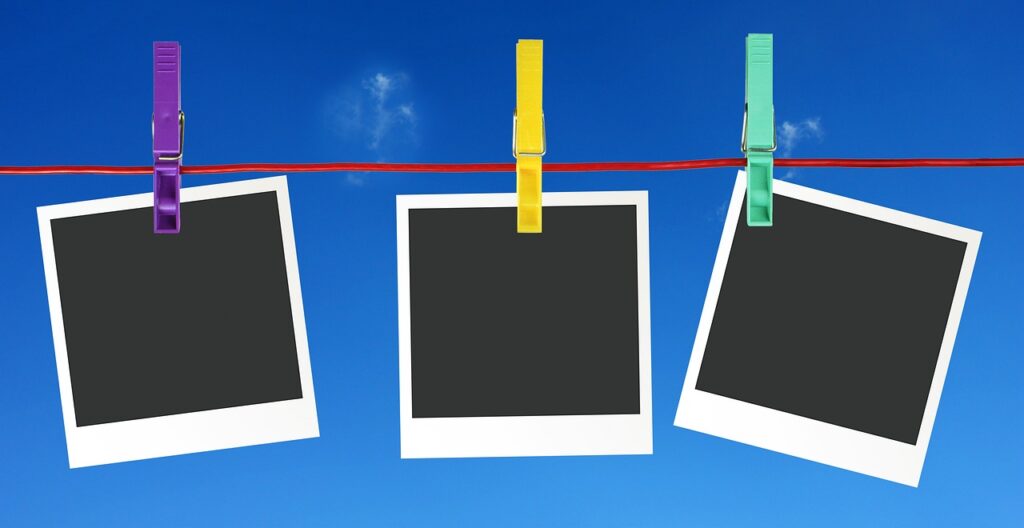
3. Clothespin Frame
- Materials: A wooden board, clothespins, paint (optional).
- Instructions: Paint the board if desired, then attach clothespins to hold photos. This is great for an informal display.
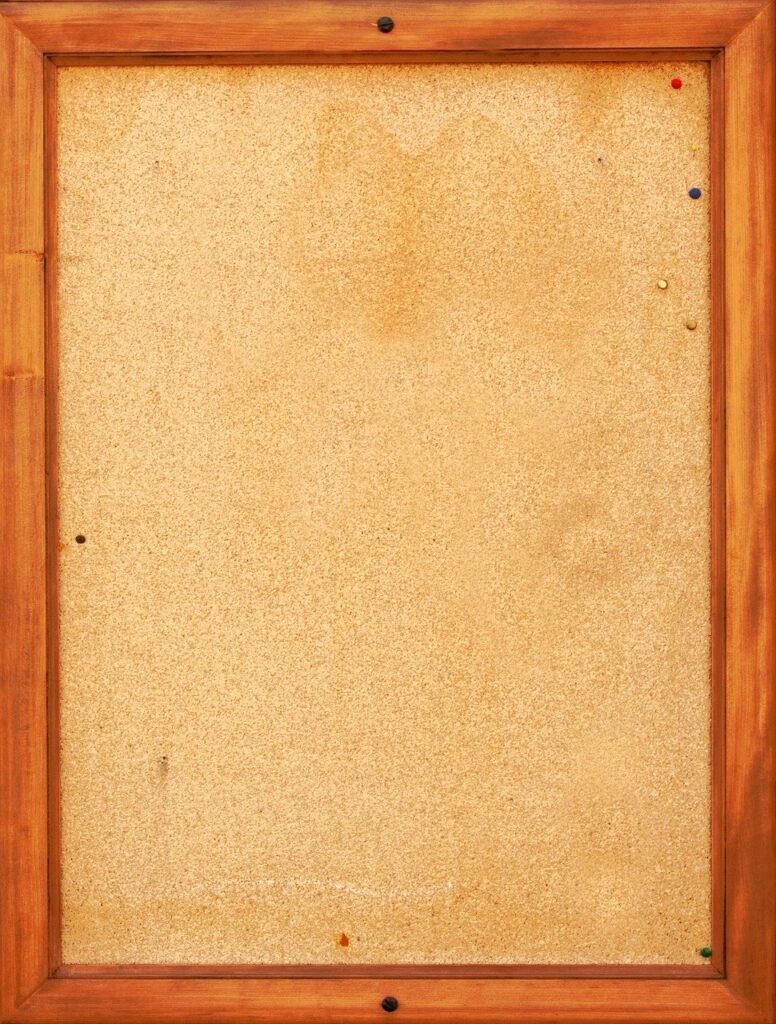
4. Cork Board Frame
- Materials: Cork board, frame, push pins.
- Instructions: Place the cork board inside a frame, and use push pins to hold your photos. It allows for easy swapping!
5. Fabric-Covered Frame
- Materials: Cardboard, fabric, glue, scissors.
- Instructions: Cut the cardboard to your desired frame size, cover it with fabric, and glue it down. Cut a window for the photo.
6. Recycled CD Case Frame
- Materials: Old CD cases, decorative paper, or paint.
- Instructions: Open the CD case and place a photo inside. Decorate the outside as you like for a unique look.
7. Hanging String Frame
- Materials: Wooden dowels, string, clips.
- Instructions: Tie string between two dowels, then use clips to hang photos from the string. This can be hung on a wall or across a mantel.
8. Nature-Inspired Frame
- Materials: Twigs, leaves, glue, a base (like cardboard).
- Instructions: Collect twigs and leaves, glue them around a cardboard base to create a rustic frame.
9. Paper Plate Frame
- Materials: Paper plates, paint, scissors, glue.
- Instructions: Cut out the center of a paper plate, decorate it with paint or markers, and glue your photo to the back.
10. Magnetic Frame
- Materials: Magnetic sheets, decorative paper.
- Instructions: Cut the magnetic sheets to size, cover them with decorative paper, and attach your photos. These can be placed on the fridge!
Hanging photo frames can enhance your home decor. Here are some of the best places to consider:
1. Living Room
- Above the Sofa: A large framed gallery can create a focal point.
- Accent Walls: Use a mix of frame sizes for visual interest.
2. Hallways
- Gallery Wall: Line the walls with a series of framed photos for a personal touch.
3. Bedroom
- Above the Bed: A single large frame or a collection can be very impactful.
- Nightstands: Small frames can add warmth to bedside tables.
4. Dining Room
- Above Sideboards or Buffets: Create an elegant display with framed art or family photos.
5. Home Office
- Above the Desk: Inspiring quotes or family photos can provide motivation.
- On Shelves: Mix frames with books and decor items for a personal touch.
6. Staircase
- Along the Stairway: Use a series of frames that follow the line of the stairs for a dynamic look.
7. Kitchen
- On Open Shelving: Display framed photos alongside cookbooks and decorative items.
8. Entryway
- Near the Door: A welcoming gallery of family photos can make a great first impression.
9. Bathroom
- Above the Towel Rack: Use moisture-resistant frames for a unique touch.
Tips for Hanging:
- Eye Level: Hang frames at eye level for the best viewing experience.
- Spacing: Maintain uniform spacing between frames for a harmonious appearance.
- Mix and Match: Combine different styles and sizes for an eclectic display.
Choose locations that reflect your personal style and where you and your guests will appreciate the photos most! Feel free to customize these ideas to fit your style and creativity!

